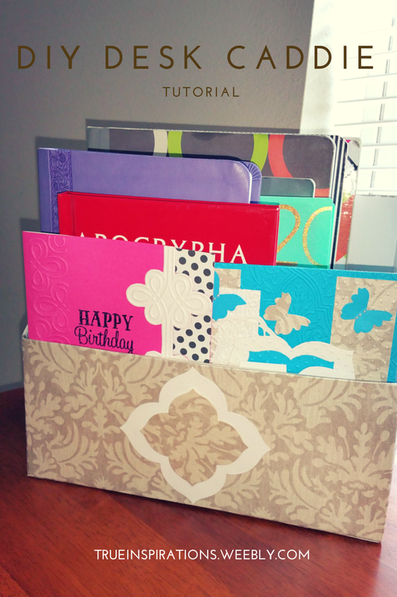
I’m pretty much on this organization kick right now. After working with my oh-so-loving and super disorganized uncle, I’ve began to crave a more organized and less cluttered personal space. Thus, inspired by my uncle, I decided the best place to start would be clearing off and organizing my tiny little desk. So, I created this two tier desk caddie to house my papers, planer, books, and my ever growing collection of cute notebooks. Here’s what you’ll need:
- Empty cereal box (preferably the large ones so your papers and notebooks don’t have to bend to fit in)
- Hot glue gun and sticks
- Scissors & Xacto Knife/Box cutter
- Mod Podge
- Scrapbook paper & Cardstock
- Embellishments
- Ruler
- Marker/Pen/Pencil
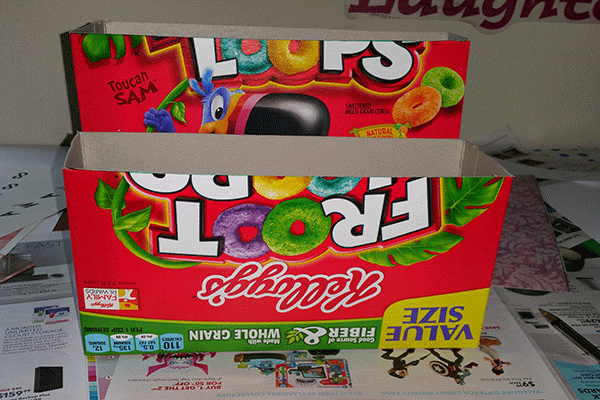
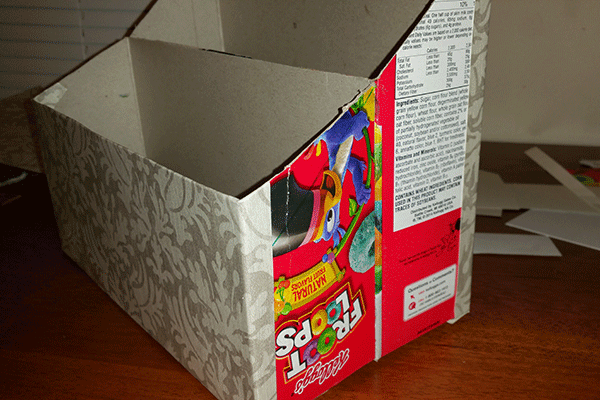
At this point you’ll have 2 separate boxes, one short and one tall (the short one should measure about 5 ½ inches tall). Mark where the short box stops on the tall box and cut the 2 sides and front of the tall box on a slant like so.
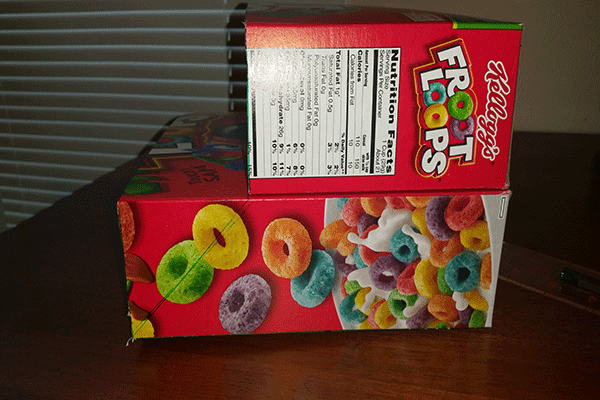
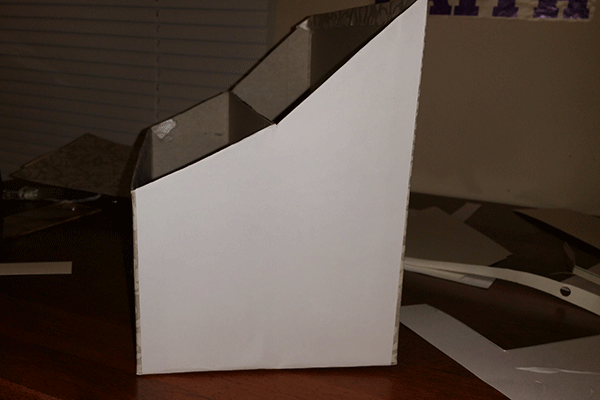
At this point, the front of your tall tier should be the same height as the back of your short tier. Decide how far down you want your slant to be on your 2nd tier and cut it like you did the tall one. Mine are not cut at the same angle because I felt that would make the front of the first tier too low.
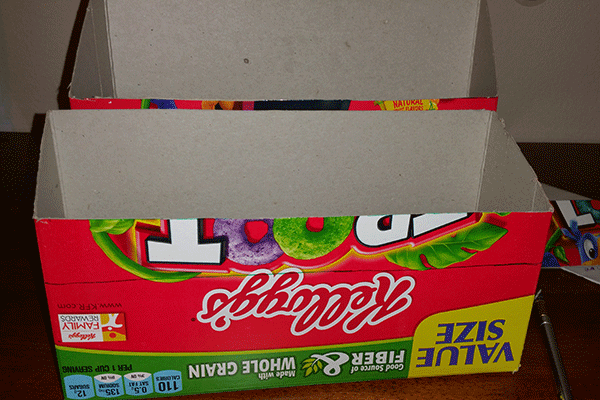
After you have the shape of your caddie down go ahead and hot glue the 1st tier to the 2nd making sure your lines are matching and even.
Now’s the fun part, you can decorate the caddie however you deem fit. I used Mod Podge, scrapbooking paper, and plain cardstock. I covered the inside bottoms first with Mod Podge and the plain cardstock, then the outside front and back with the scrapbook paper. (My scrapbook paper was 12in by 12in and my cardstock was 11in by 8 ½ in).
Note: When you cut out your outside pieces cut about half of an inch more on each side so you can fold them around your corners.
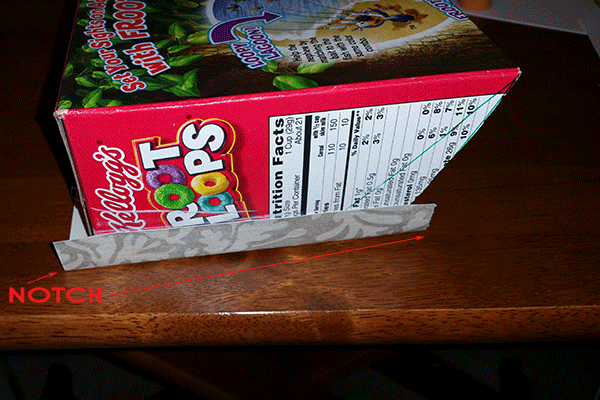
Cut little notches in your corner so you can glue and fold them. Then glue and fold them.
Follow the same steps with your sides except, only at the extra ½in to the top and bottom, you want your width to be exact. Then cover the insides of your caddie.
For the very inside front and very inside back of your tiers, make sure you cut your paper a quarter inch shorter than the height of the tier (you don’t want any extra paper to fold over). You will use this same method to cover your inside sides, and your outside bottom.
For the back of the front tier and front of the back (the ones that are hot glued together) cut one of your sheets a quarter to half an inch longer than the height, and one a quarter inch shorter. With the longer sheet on one side you will fold it over to cover the raw edges of the cereal box.
Add a few decorations to the outside of the caddie as you wish (I used my Spellbinders Nestabilites Labels Twenty-Four dies to cut out my shapes) then seal all five sides (this includes the bottom) with Mod Podge. Allow 15 to 20 minutes to dry and enjoy!


 RSS Feed