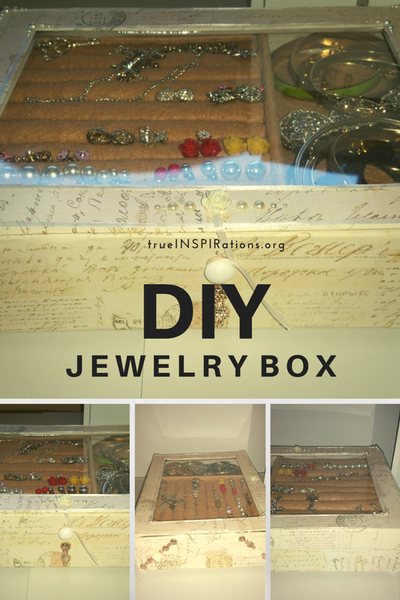
I made a jewelry box out of an empty Ramen Noodles box a little over a year ago, and ended up throwing it away because after a while I just wasn’t crazy about it anymore, and I wanted to change up the color scheme in my room a bit, and, I knew I wanted to make this tutorial for you. So, today, I’m going to share with you how a made my new oh-so-pretty jewelry box using an empty Ramen Noodles box and a Nike shoe box.
Materials needed for this project:
Materials needed for this project:
- Empty Ramen Noodle box (of course!)
- Old sneakers shoe box (the lid to the shoe box will serve as the lid to your jewelry box, so it has to be the same size or bigger than the Ramen Noodles box)
- Decorative Paper (I used Project Paper I got from Joann’s, you could also use scrapbooking paper or wrapping paper or paper paper, whatever you choose. The first time I did this project used black cardstock and painted the box using stencils)
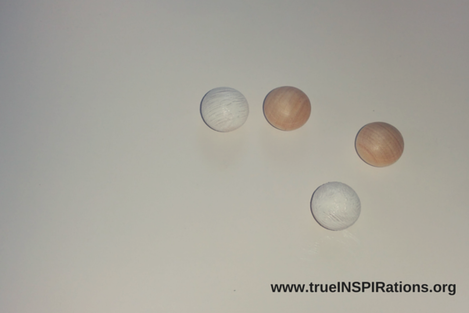
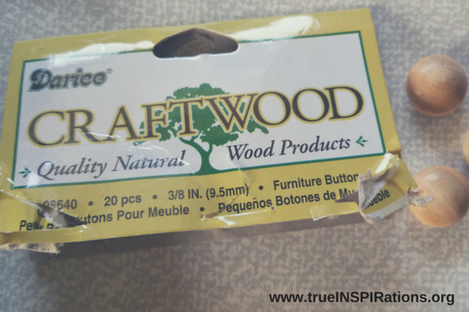
- Wooden buttons to use as feet (4) and 1 for your closure, should you choose to close yours the same way I closed mine. (Optional)
- Wooden round dowels (for the round cushiony thingies)
- Polystyrene (this is that clear plastic glass substitute material used in a plastic poster frame. You could either buy a cheap poster frame and take it from there or buy it by itself, Michael’s sells them in the framing section)
- Several scrap pieces of Card Stock
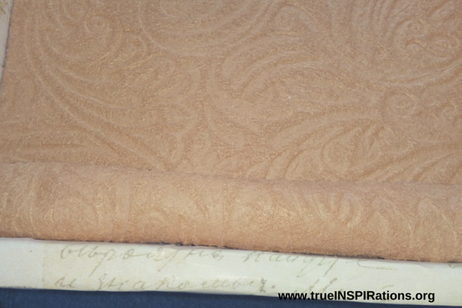
- Felt (I used 3 sheets of embossed felt)
- Bating
- Ribbon, twine, or elastic (for the closure I went with)
- 4 Magnets (alternate closure)
- Mod Podge (I used the hard finish)
- E6000
- Hot glue gun and many many sticks
- 2 Sponge paint brushes
- Paint (Optional)
- X-Acto knife
- Paper scissors
- A ruler
Box Construction
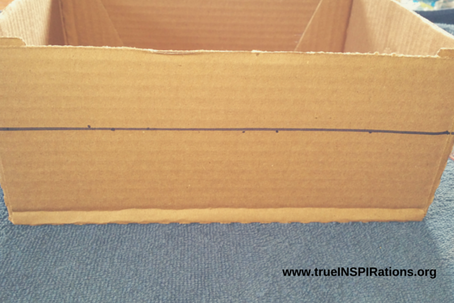
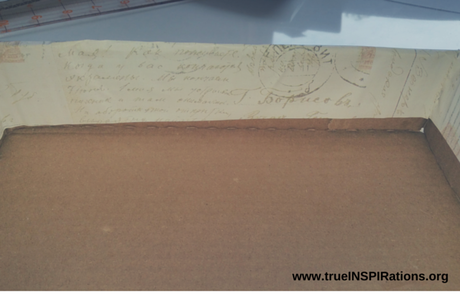
The first thing I did was cut my box down to size, I made my box 2 ½ inches high, feel free to make it higher, but I wouldn’t recommend making it any shorter. To cut my box I marked 2 ½ inches up from the bottom of the box because the top of the box wasn’t even on all four sides. I used my X-Acto knife to cut it, and I promise you, it cuts like butter! Take your time when cutting though, because you want the lid to sit as even as possible on top
After you cut your box down to size you may have to go around the box (if you used a Roman Noodles box) and re-glue your sides with hot glue.
Optional step: Originally, I was going to use magnets to close the box, but couldn’t find the ones I wanted so decided on a different closing method. If you want to use magnets follow this step, if not, you can skip. To create a platform for your magnets to sit on, decide which side you want your front to be, and hot glue 2 pieces of cardboard to the length of the inside of box to create a thicker platform.
Optional step: Originally, I was going to use magnets to close the box, but couldn’t find the ones I wanted so decided on a different closing method. If you want to use magnets follow this step, if not, you can skip. To create a platform for your magnets to sit on, decide which side you want your front to be, and hot glue 2 pieces of cardboard to the length of the inside of box to create a thicker platform.
Then, to create a smoother surface, use Mod Podge to glue card stock on the four outside sides and bottom. If you don’t do this, your decorative paper may have a bumpy texture to it after you glue it to the box.
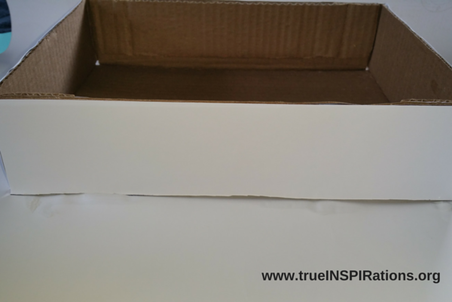
Next, using Mod Podge, glue on your decorative paper to the outside bottom and sides, leaving enough paper left over the fold over to the inside of the box and cover any cardboard that would show in the finished product.
I used one long and wide piece of paper and cut it like you would wrapping paper. I glued the bottom first, then the front and back of the box, I folded and glued the sides like you would wrap a gift box.
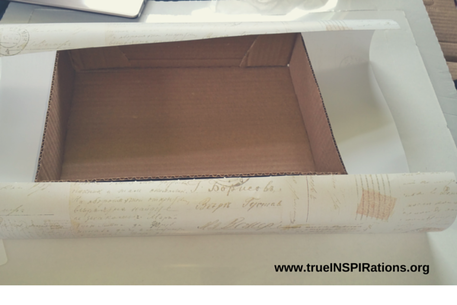
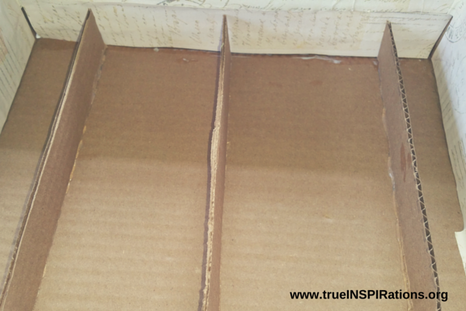
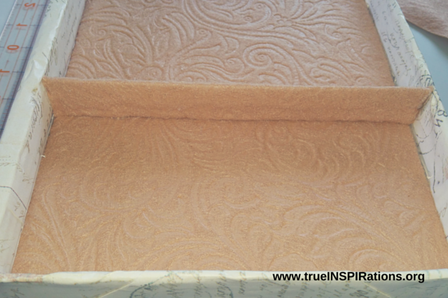
While that dries cut 3 1 ¼ inch wide strips of cardboard the width of your box to create a platform. Space them out in the box and hot glue them into place (I put glue on the bottom of the strips and the two sides).
Using Mod Podge, seal the outside bottom and sides of the box.
Using your shoe box, cut a piece of cardboard from the bottom of the box to fit snuggly inside the Ramen Noodles box on the platform you just created.
Using your shoe box, cut a piece of cardboard from the bottom of the box to fit snuggly inside the Ramen Noodles box on the platform you just created.
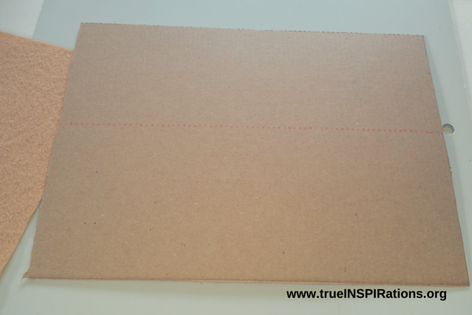
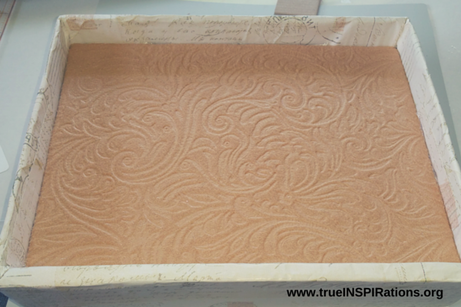
Use hot glue to cover the piece you just cut out with felt.
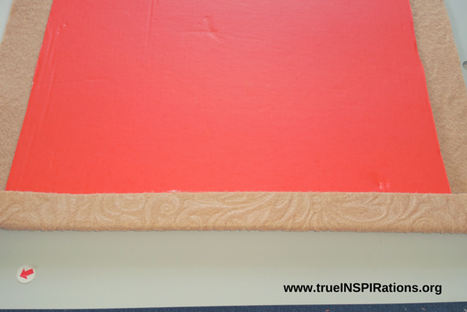
Place this piece to of cardboard onto the platform you created (you don’t necessarily have to glue it because it will fit snugly, but you can if you’d like).
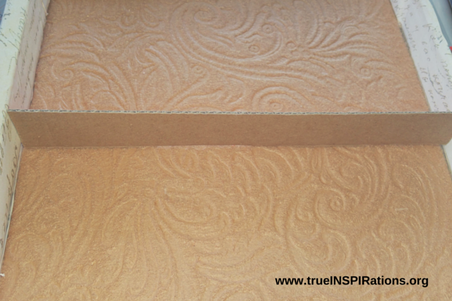
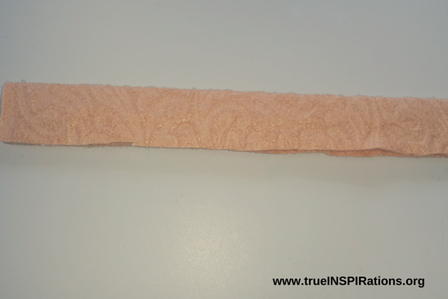
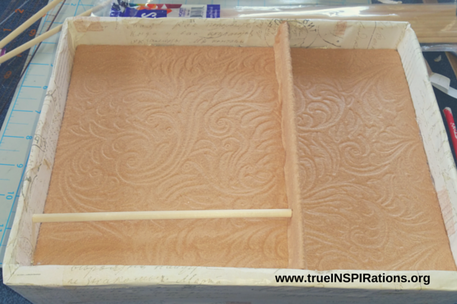
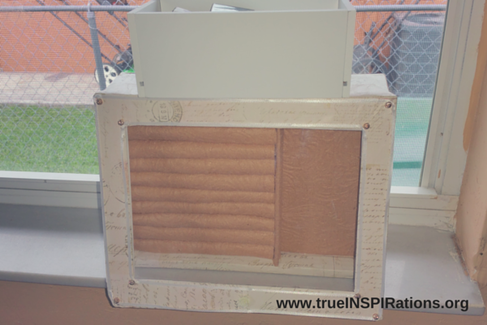
Cut another piece of cardboard that will sit on top of the platform you just created, this will serve as a divider and will run from front to back of the box. Cover the divider front and back with felt, using the hot glue gun. Then hot glue the divider onto the platform at the bottom and sides wherever you decide to run the divider, mine runs from front the back, not side to side.
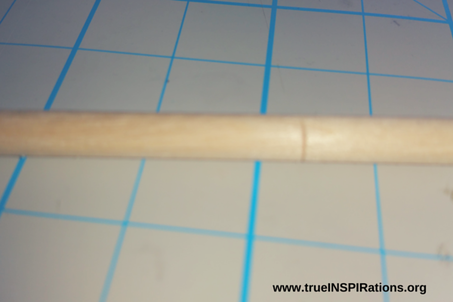
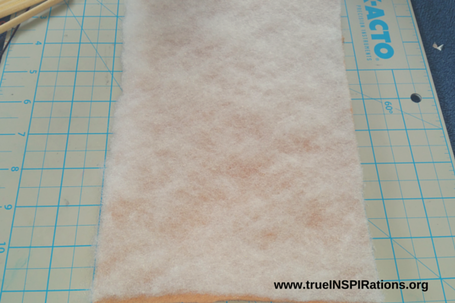
For the round cushions, take your round wooden dowels and cut them to size (I used 11),(the easiest way to cut them is to score them with your X-Acto knife and snap them) and wrap them once in batting and felt. I hot glued the bating onto the felt then hot glued them to the dowel.
Place the round cushions in the box and hot glue them down.
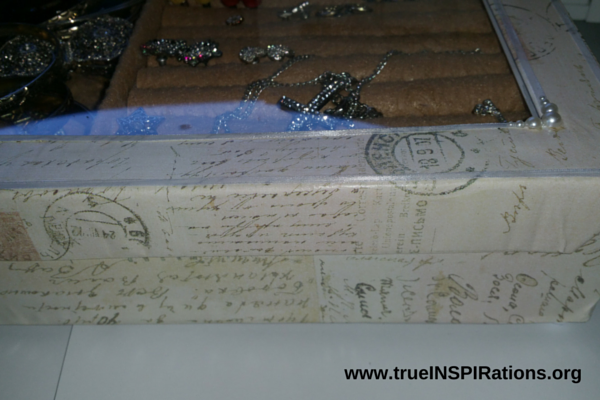
Paint the round wooden buttons and attach 4 of them to the 4 corners of the bottom of the box using hot glue.
Lid Construction
Note: I tried to make this part as clear as possible, but please read the steps all the way through before completing this portion, and feel free to leave any questions in the comments below.
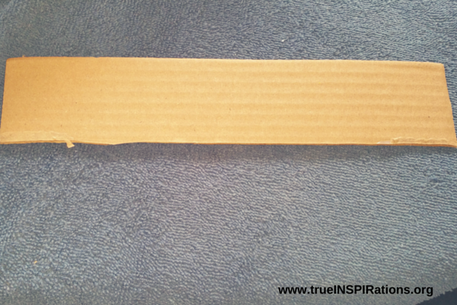
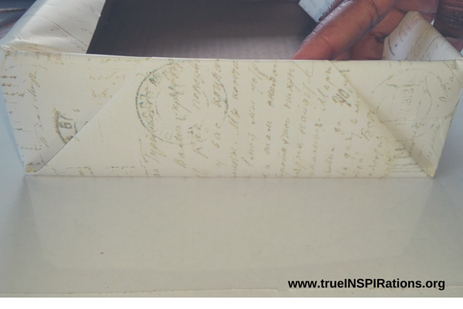
For the lid, I used the lid of the shoe box, keeping the side where it already folded over and cutting of the 3 other folded sides. Where the lid bends, measure down half an inch and cut, this will be used to connect the lid to the box.
Cut the lid so that it fits perfectly over the box. Cut a little triangle off both sides of the 1 inch flap.
Note: I tried to make this part as clear as possible, but please read the steps all the way through before completing this portion, and feel free to leave any questions in the comments below.
For the lid, I used the lid of the shoe box, keeping the side where it already folded over and cutting of the 3 other folded sides. Where the lid bends, measure down half an inch and cut, this will be used to connect the lid to the box.
Cut the lid so that it fits perfectly over the box. Cut a little triangle off both sides of the 1 inch flap.
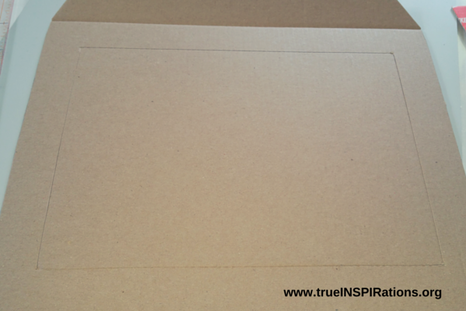
Cut a square window in the middle of the lid, leaving a 1 inch board on all 4 sides. ***This means that the front and 2 sides of the lids will have a 1 inch boarder, and the back will have a 2 inch boarder separated by the crease of the fold*** You could also cut the window out in the shape of a heart, or diamond, or whatever. The first one I made had a heart shaped window.
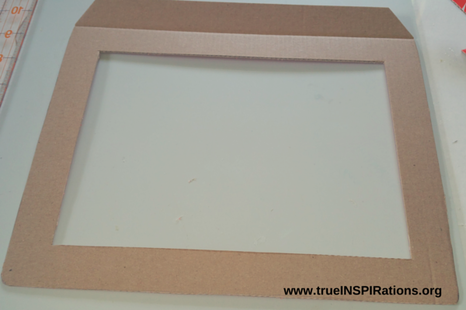
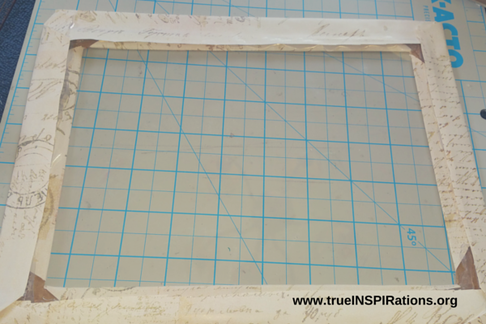
Using Mod Podge, glue your decorative paper onto the lid, be sure the make sure the flap is bent so the paper doesn’t rip when it dries and you try to bend it (the part of the lid that folds over).
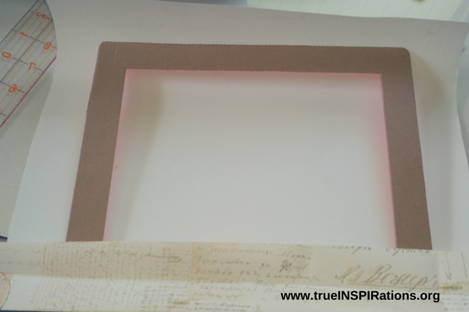
Then, cut the middle of the paper out where the window is cut out, leaving a 1 inch boarder, then notch the 4 corners. Next, using more Mod Podge glue the flaps for the inner square down. Don't glue down the outside edge yet, you will glue that after you apply the Polystyrene.
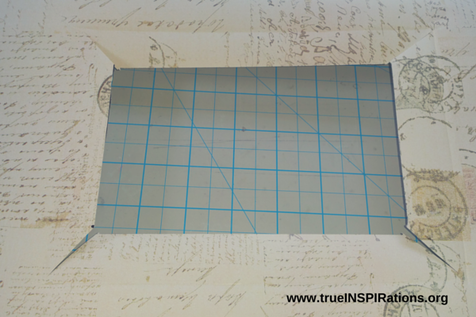
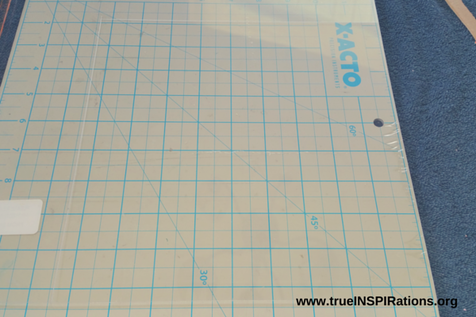
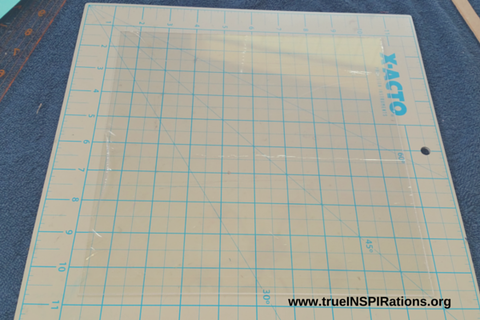
To cut your Polystyrene: Measure the size of your lid window and add a ½ inch to all 4 sides. Cut out of the Polystyrene using your X-Acto Knife. I scored multiple times on both sides of the sheet, once I did it enough it either cracked on its own, or was scored enough to where I could snap it without causing any major cracks.
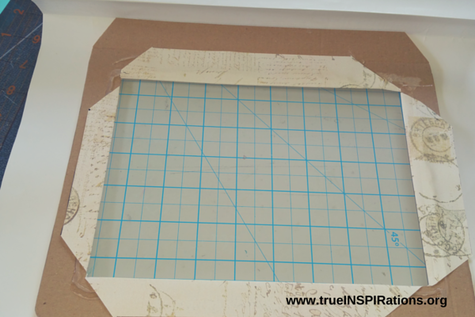
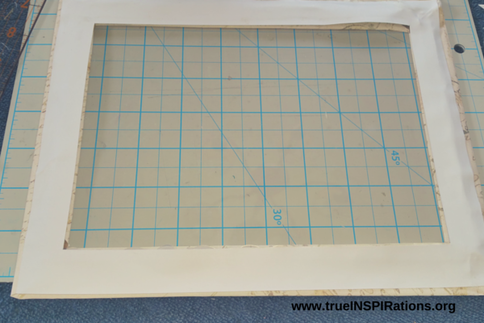
Then, hot glue this onto the back side of the lid. Next, fold and glue the outside flaps over the Polystyrene with Mod Podge.
To make it look better on the inside, cover the parts you just hot glued down with some card stock. I used a 12 by 12 inch piece of cardstock and cut it like I did the opening out of the lid, I made mine 1 inch on all 4 sides and glued it on with Mod Podge.
Using E600, glue the one inch flap of the lid onto the back of the box. From my experience, the E6000 holds it together better than hot glue does. Place something with weight on top of it and let it dry for 30 minutes to an hour.
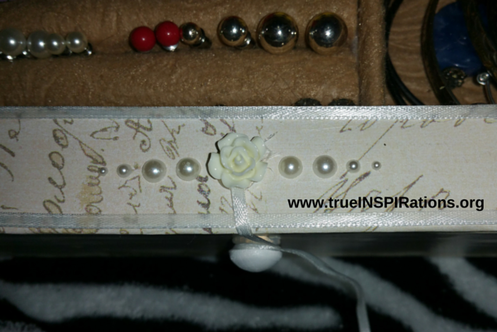
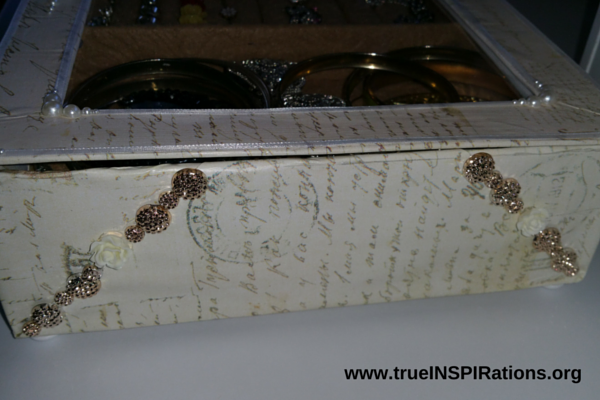
For your closure: I used ribbon, and hot glued it on the front of the lid, hiding it under a decorative piece. I then hot glued another painted button on the front of the box and wrapped the ribbon around it. Alternatively, you could use magnets, and hot glue them on, two on the base you created, and 2 on the lid.
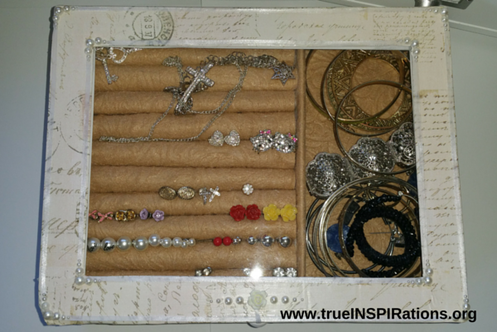
Then, decorate the box to your hearts content, fill it with our jewels, and you’re DONE!
I hope you enjoyed this tutorial, it is kind of long winded, but I think the finished project is so worth it. And I hope the pictures make everything clear. Please feel free to leave a comment with any questions on anything that needs more clarification.
Enjoy!♡
I hope you enjoyed this tutorial, it is kind of long winded, but I think the finished project is so worth it. And I hope the pictures make everything clear. Please feel free to leave a comment with any questions on anything that needs more clarification.
Enjoy!♡
 |  |

 RSS Feed