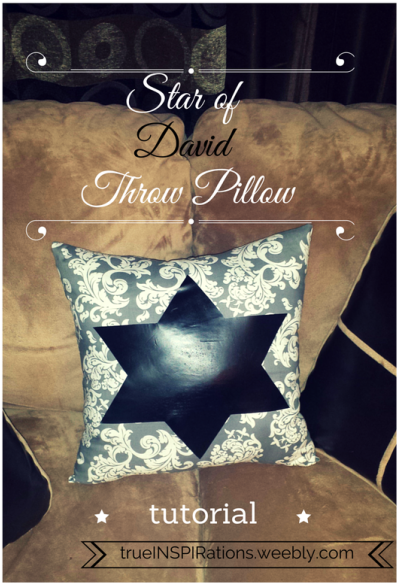
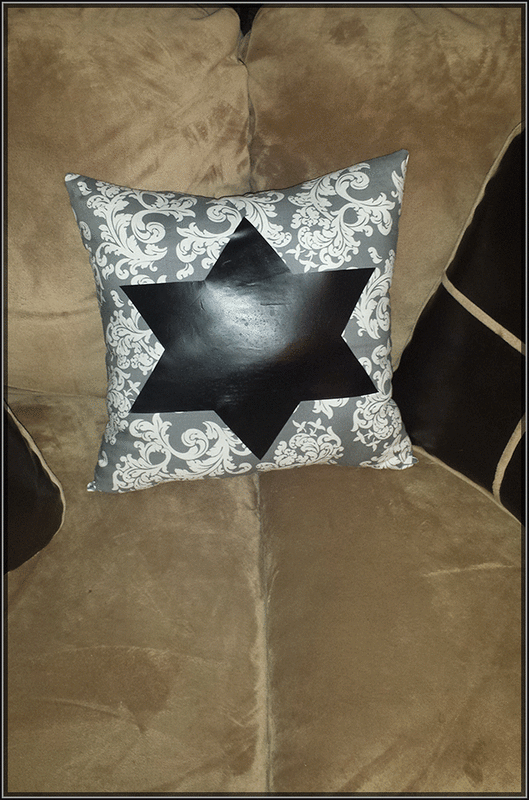
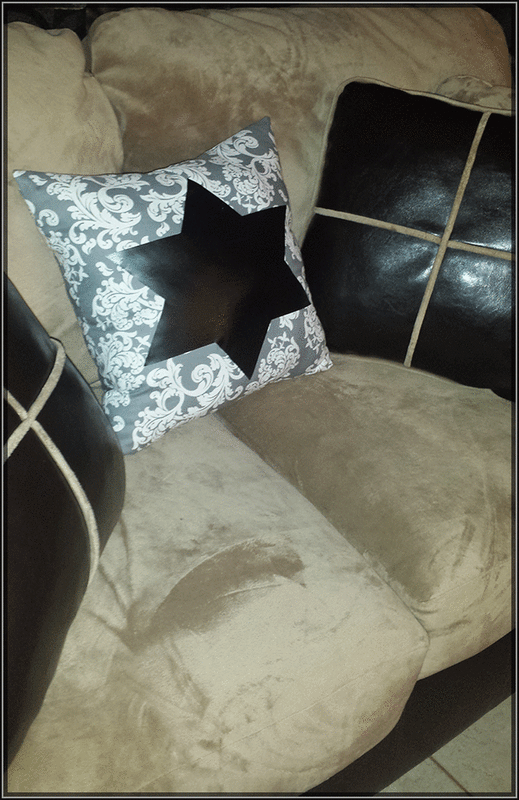
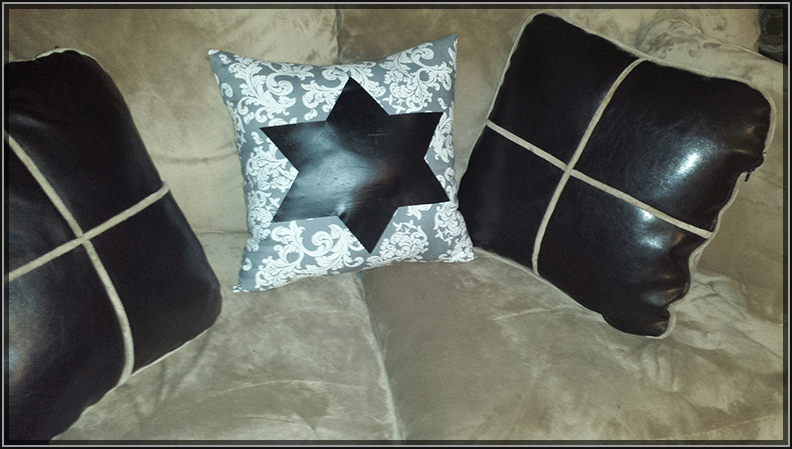
Last year for Hanukkah I gave a few sisters a small, homemade travel pillow with their initials on them. I seem to have somewhat of an obsession with pillows because this year I decided to make a throw pillow with the Star of David on it for the person I was given for the Hanukkah Gift Exchange a group of the sisters I go to church with and I are participating in this year.
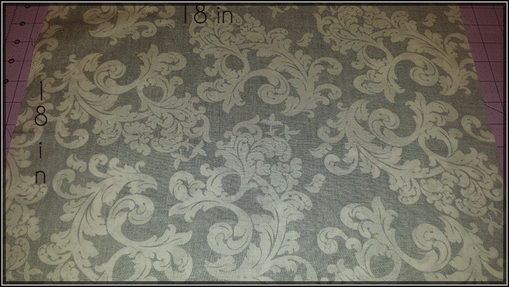
I picked up the printed fabric I used in this tutorial from my local Hobby Lobby store (I went there for the first time last week, that store is AWESOME!!!!). And the Iron-On decal I brought at Joann’s, (they were having this amazing 50% off sell!) I used the Cricut brand, you’re supposed to use it with the Cricut Explore Machine, but I don’t have one and it is really easy to just cut out your shapes by hand, all you need is time, patience, and an Xacto knife.
I picked up the printed fabric I used in this tutorial from my local Hobby Lobby store (I went there for the first time last week, that store is AWESOME!!!!). And the Iron-On decal I brought at Joann’s, (they were having this amazing 50% off sell!) I used the Cricut brand, you’re supposed to use it with the Cricut Explore Machine, but I don’t have one and it is really easy to just cut out your shapes by hand, all you need is time, patience, and an Xacto knife.
The materials I used to make this pillow are:
- Fabric
- Iron-on decal
- Xacto Knife
- Poly-Fil pillow stuffing
- Iron
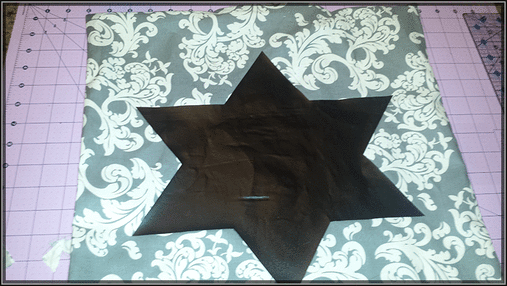
Step two: On a 12 by 12in piece of the iron-on decal and draw and cut out your Star of David
Note: I hand drew mine on a piece of paper first, making sure that my Star measured 12in from tip to tip, and each triangle was even.
Note: I hand drew mine on a piece of paper first, making sure that my Star measured 12in from tip to tip, and each triangle was even.
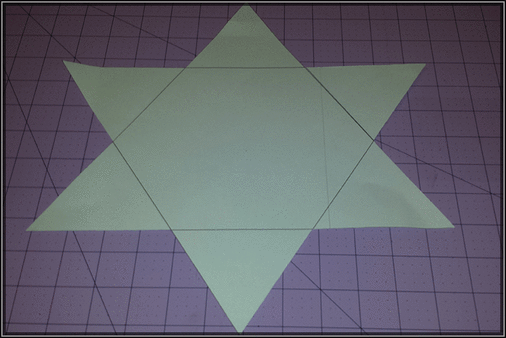
This is a picture of my drawing, I forgot to take a picture of the actual cutout on the iron-on decal.
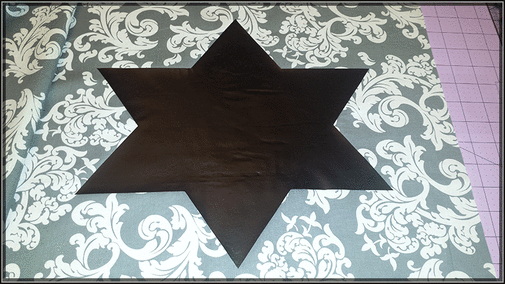
Step three: Following the instructions on your iron-on, iron on your decal, making sure your Star is perfectly centered. I had a 3in boarder around my Star and the center tip was 9in from the raw edge.
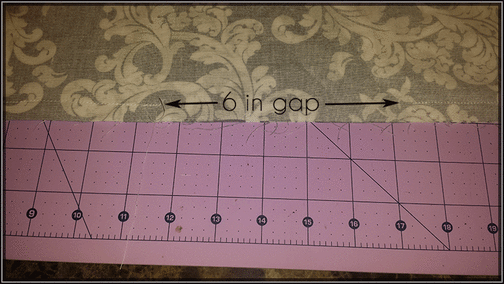
Step four: With right sides together, sew your two pieces of fabric together using a 5/8in seam allowance and leaving a 6in hole so you can turn and stuff your pillow.
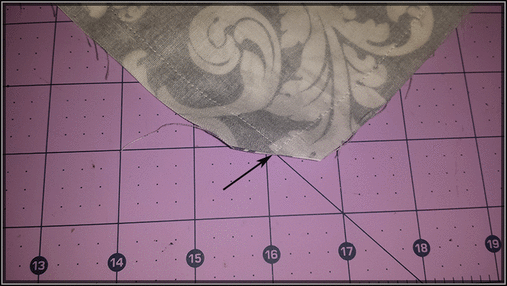
Step five: Trim your edges, clip your corners (making sure not to cut your stitching), turn you’re your pillow right side out, and stuff to your liking.
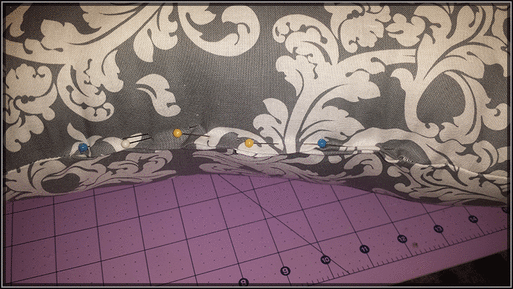
Step six: Pin and slip stitch your hole shut.
And that’s it! Enjoy♡

 RSS Feed